

(Part Four of the Clementine Paddleford blogs)
After studying and writing about Clementine’s life the past couple weeks, I couldn’t let celebrating her birthday pass us by. She had so much drive and ambition, I would say if the cancer had not killed her, she could have been one of those who lived to a very ripe old age. But since she is not with us, I still want to celebrate her life with one of her favorite recipes, Aunt Sabella’s Black Chocolate Cake with Fudge Frosting. Clementine once said, “Chocolate cake, now that’s my meat.”

This moist and rich buttermilk-based cake with a warm fudge icing that sets to a beautiful glossy sheen is sure to become a favorite. I love it because it’s not a huge cake (8-inch square pan) and doesn’t have a 2-inch pile of overly sweet frosting. It will keep for days, if it lasts that long.
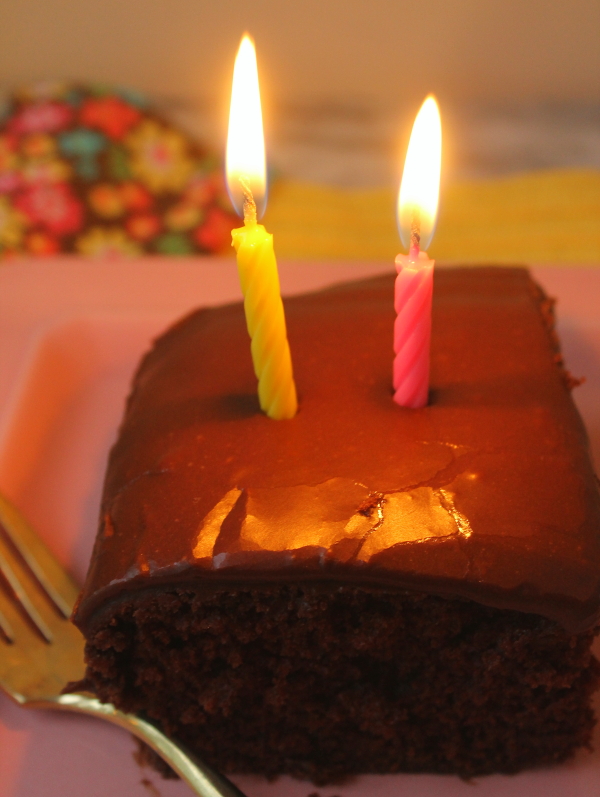
Happy Birthday, Clementine! You are not forgotten.
Aunt Sabella’s Black Chocolate Cake with Fudge Frosting
Cake:
2 ounces (2 squares) unsweetened chocolate, chopped
5 Tablespoons, plus 1 teaspoon unsalted butter, at room temperature
1-1/4 cups all-purpose flour
1 teaspoon salt
1 teaspoon baking soda
1 cup buttermilk
1 cup granulated white sugar
2 egg yolks
Frosting:
2-1/4 cups confectioner’s sugar
5 Tablespoons unsweetened cocoa powder
6 Tablespoons unsalted butter, melted
5 Tablespoons hot freshly brewed coffee
1-1/2 teaspoons vanilla extract
Heat oven to 350 degrees. For cake: Melt the chocolate squares in a small heatproof bowl set over a small pot of gently simmering water over medium-low heat, stirring occasionally just until melted. Remove bowl from heat and set aside to cool. Meanwhile, grease an 8-inch square pan with the 1 teaspoon softened butter and set aside. Sift together the flour and salt; set aside. Stir the baking soda into the buttermilk in a small bowl and set aside. Beat the granulated sugar and the remaining 5 Tablespoons of softened butter together in a large mixer bowl of electric mixer on medium speed until light and fluffy, about 2 minutes. Beat in the egg yolks, then add the melted chocolate and beat until thoroughly combined. Add one-third of the flour mixture, then one-third of the buttermilk mixture, then repeat beating after each addition. Using a rubber scraper, place batter in prepared pan and smooth top. Bake for 40-45 minutes or until a toothpick or cake tester inserted in the middle comes out clean. Place cake on a wire rack to cool for 10 minutes. Carefully run a knife around the cake to loosen, then invert onto a cake plate. Cool completely before icing. Before icing the cake, cut long pieces of wax paper to fit all sides of the cake and slip half of the paper carefully under the cake sides so some is still showing on the plate. This is not in the original recipe, but I find it very handy. The frosting is not a fluffy-type frosting, but a thin and warm icing that is slowly poured on top and over the cake. You have to work fairly quickly as it will start to set. I found that by placing the wax paper pieces underneath, they are then removed when the icing has set and you have no mess. This is not a necessary step, but one that will make clean-up easy and the cake looks better.
For frosting: Sift the confectioner’s sugar and cocoa powder together into bowl of electric mixer. On medium-low speed (or you can do it by hand, if desired), add the melted butter and mix. Add hot coffee and mix to combine, then stir in vanilla. Mix until frosting is smooth. It will be warm and thin. Be sure it is well mixed with no lumps. I use an electric mixer, but after it is mixed, I stir well with a rubber scraper before putting on the cake. Working rather quickly, spoon the icing carefully in the center of the cake. Using a frosting knife, spread the icing smoothly across the top and let it drip over the sides, then smooth out the sides. Let the frosting set for at least 15 minutes before carefully removing the wax paper pieces. Let cake sit until the icing sets. This sounds harder than it is, and you will see how easy it is once you start the process. I can promise you that it is so good, you will never go back to the fluffy thick stuff again!
You can serve the cake with vanilla ice cream, if desired.


No comments yet.